


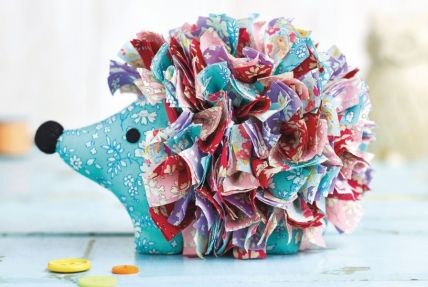
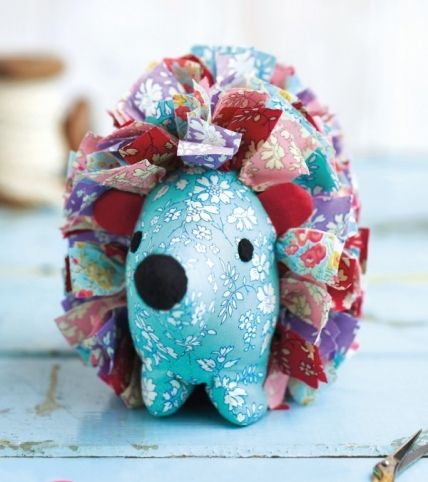
The crowning glory of this cuddly hedgehog by Cheryl Owen is its soft and tactile shaggy spines. They are easy to make from bias strips of fabric – we’ve incorporated Liberty prints in different colours, but it’s also a fantastic project for using up a selection of scraps from your stash.
Essentials
- Printed turquoise cotton, 25cm x 1.12m
- Plain red cotton, 7cm square
- Five co-ordinating printed cottons, 25cm x 40cm
- Black felt, 7cm square
- Fabric glue
- Toy stuffing
- Crewel embroidery needle
Dimensions List
1 Download and print the hedgehog templates above. Cut out one pair of heads, a pair of bodies and two gussets from patterned turquoise cotton, plus two pairs of ears from plain red cotton. Snip notches on all of the pieces where indicated. Cut a nose from felt. Apply fabric glue to the back of the remaining felt to stiffen, set aside to dry, then snip two eyes.
2 Pin the eyes to the right side of the heads. Oversew the edges of the eyes, then pin the ears together in pairs and stitch the un-notched edges. Trim the seam allowance to 4mm, then snip the curves and turn right side out. Tack each ear to the right side of a head piece, matching the notches. Sew the heads to the bodies from points A to B, right sides together. Press the seams open.
3 Pin the heads and bodies together and stitch between the dots C to A to D. Stitch the gussets together from C to D, leaving a gap between the crosses. Snip the curves and press the seam open.
4 Pin one gusset to a head and body, stitch between dots C to B to D, and snip the curves. Repeat to sew the second gusset to the other head and body. Clip the corner and snip the curves, then turn the hedgehog right side out. Stuff evenly and slipstitch the gap closed.
5 Gather the nose with a running stitch, 6mm inside the outer edge. Press the outer edge to the inside along the gathering stitches. Insert a little toy stuffing into the nose and pin it to the tip of the head. Sew with small slip stitches twice to secure.
6 Draw 1.8cm wide bias strips on five patterned fabrics and cut out. Snip the strips of each print into 50 6cm long rectangles. Anchor a double length of sewing thread at point B on the hedgehog, then sew a gathering stitch across the centre of one rectangle.
Читайте также: Плащ для собаки выкройка своими руками
7 Slide the first strip along the thread to sit against the body, pull up the gathers and sew in place. Bring the needle to the outside of the body 1cm away, and repeat to sew each rectangle 1cm apart all over the body, above the broken lines.
Sewmag

Свитер с высоким воротником

Свитер с высоким воротником
Свитер с высоким воротником
Бесплатная выкройка в формате pdf
Мы будем рады увидеть ваши творения! Поделитесь своими фотографиями в социальных сетях, используя хэштег: #epatterns
Вам понравилась выкройка? Поделитесь ссылкой на выкройку в соцсетях конопками ниже. Пусть больше людей пользуются бесплатными выкройками
чтобы скачать эту выкройку.
Это просто. Это бесплатно.

Платье с двухярусной юбкой

Платье с двухярусной юбкой
Повседневное простое платье с двухярусной юбкой.
Бесплатная выкройка в формате pdf
Мы будем рады увидеть ваши творения! Поделитесь своими фотографиями в социальных сетях, используя хэштег: #epatterns
Вам понравилась выкройка? Поделитесь ссылкой на выкройку в соцсетях конопками ниже. Пусть больше людей пользуются бесплатными выкройками
чтобы скачать эту выкройку.
Это просто. Это бесплатно.

Нарядное платье миди

Нарядное платье миди
Превосходное праздничное платье длиной миди. Есть ли более роскошное сочетание цветов, чем черный и золотой? Это платье идеально подойдет для любой рождественской вечеринки. Его украшает круглый вырез и элегантные рукава с драпировкой. В этом платье вы станете королевой бала. Не забывайте работать осторожно, с большим количеством утяжелителей для иксаии выкройки и ткани, так как креп может быть скользким при крое и шитье, и повесьте платье на ночь, чтобы оно вытянулось и стабилизировалось перед пошивом.
Бесплатная выкройка в формате pdf
Мы будем рады увидеть ваши творения! Поделитесь своими фотографиями в социальных сетях, используя хэштег: #epatterns
Вам понравилась выкройка? Поделитесь ссылкой на выкройку в соцсетях конопками ниже. Пусть больше людей пользуются бесплатными выкройками
чтобы скачать эту выкройку.
Это просто. Это бесплатно.
Sewmag co uk выкройки
- View Pattern
- View Pattern
- View Pattern
- View Pattern
Sewing Pattern
Classic Tea Dress
Dresses Garments


We can’t offer you a cuppa but we can deliver your new go-to frock – Amanda Walker’s tea dress! This ultra-feminine make is guaranteed to stretch your skills as it requires darts, flouncy sleeves and a concealed zip. Don’t worry if these techniques aren’t up to scratch just yet, as our detailed instructions will ensure that you’re a pro by the end of the project.
Читайте также: Брошь тигр из фетра своими руками выкройки
Essentials
Sizes
Dimensions List
- Front bodice: cut one on the fold in fabric and lining
- Back bodice: cut one pair in fabric and lining
- Sleeve: cut one pair
- Sleeve flounce: cut two in fabric and lining
- Front skirt: cut one on the fold
- Back skirt: cut one pair
Download the template, print and following the cutting guide. Stitch darts on the front and back bodices from the base to the points marked on the pattern. Press them towards the centre front and back, and the side darts towards the waistline. Repeat for the lining. Position the front and back bodice right sides together, then match, pin and stitch the shoulder seams. Press open the seam allowance. Repeat for the lining.
Lay the bodice right side up and place the lining on top, right side down. Match the necklines, then pin and sew around them. Clip the seam allowances around the curve, then under-stitch the neckline, stopping 4cm from each centre back edge. Match and pin the side seams, then stitch from the base of the bodice to the underarm sections and press the seam open. Repeat on the lining.
Divide the sleeve flounces into one fabric and one lining. Pin and stitch all of the underarm seams, then press open. Turn one flounce to the right and slide inside the corresponding lining piece, right sides facing. Match the underarm seams, then pin and sew around the base of the flounce with a 5mm seam allowance. Fold the lining inside the fabric flounce, tease out the seams and press flat. Repeat for the other flounce.
Neaten the underarm seam edges, then match, stitch and press open. Sew the flounces to the base of the sleeves, matching the underarm seams. Neaten all of the seam allowances, then press and turn them to the right side. Sew a row of gathering stitches around the head of the sleeves, starting from the front notch and finishing at the back.
Pull up the gathering threads, then place the sleeve into the armhole. Match the side seams to the underarm one of the sleeves, pair the notch in the centre of the sleeve to the end of the shoulder seam, then adjust the gathers to fit the armhole. Pin, stitch and neaten the seam allowances.
Читайте также: Выкройки одежды для кукол барби журналы i
Neaten the side edges of the front and back skirt. Place the front skirt over the back pieces. Match the side seams, stitch and press open. Position and pin the skirt to the bodice, pairing the side seams and centre fronts – you may need to clip the waistline curve to enable this. Sew, then neaten the seam allowance and the edges of the centre back bodice on the skirt.
Stitch the centre back seams up to the zip notch. Sew the zip into the back opening using a regular or concealed zipper foot. Fold and press the seam allowance along the two sides of the back opening. Open the seam allowance and, with right sides facing, place the opened zip face down. Match the teeth to the crease line in the seam allowance, then pin. Prepare the zip depending on your chosen zipper foot, and sew.
Leave 3cm of the zip base unstitched, then back-stitch and sew the other side of the zip in place. Thread the zip pull through to the right side at the top of the centre back seam, then close it. Neaten the base of the skirt and complete a 1cm hem. To finish, hand-stitch the top of the zip to the lining.


Other Popular Makes.
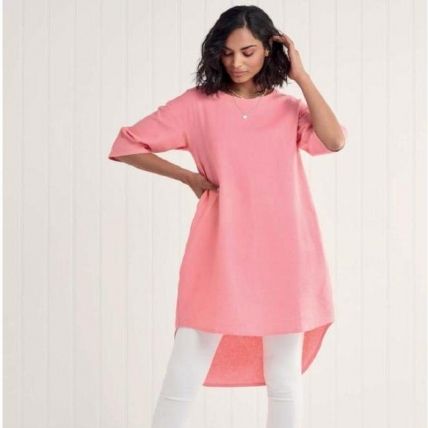
Lillian Tunic
Girl’s clothing
For a seriously standout look, stitch and style our Lillian Tunic Made from a breathable long-lasting linen, which just gets softer…
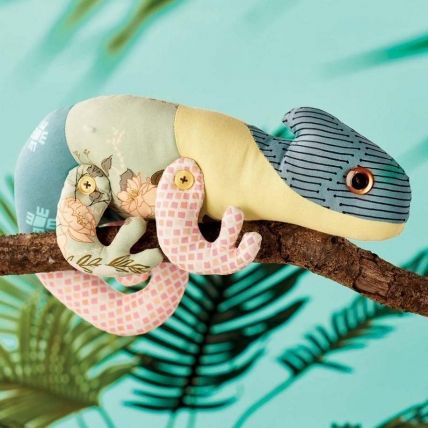
Mona Chameleon
Animals
Eager for warmer climes, it’s Mona the Chameleon Despite having a reputation as a largely solitary creature, chameleons can be affectionate just…
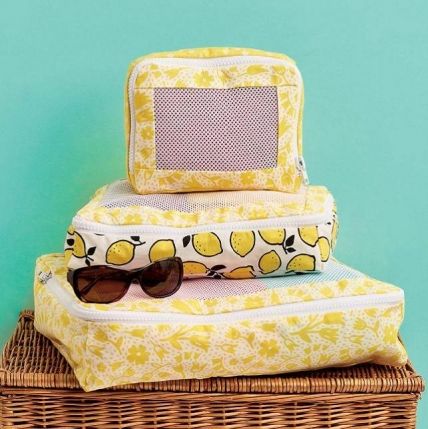
Packing cubes
Don’t set off without our trio of Packing Cubes Planning a staycation in the sunshine? These zesty storage solutions by Chloe Hailwood…
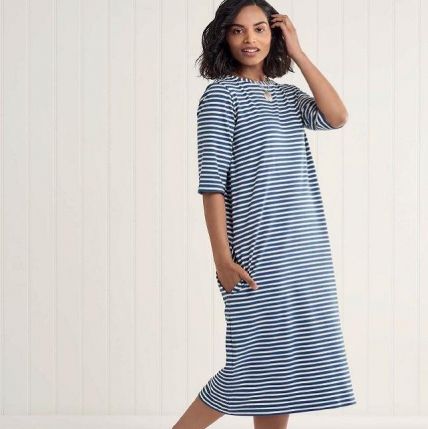
Jade Dress
Dresses
Want an outfit that packs a punch? Make our Jade Midi Designed by Posner and Posner, this soft-as-butter jersey dress works…
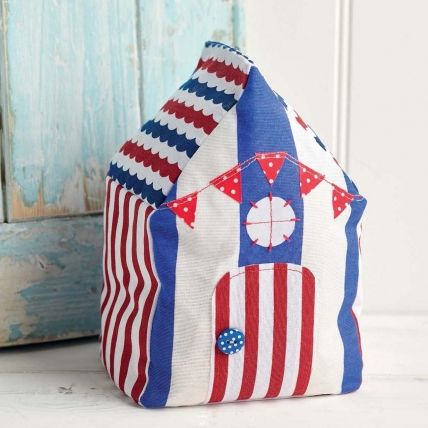
Beach Hut Doorstop
Home makes
Celebrate the seaside with our Beach Hut Door Stop For many holiday goers, the coast makes for the perfect staycation. Pebbled…
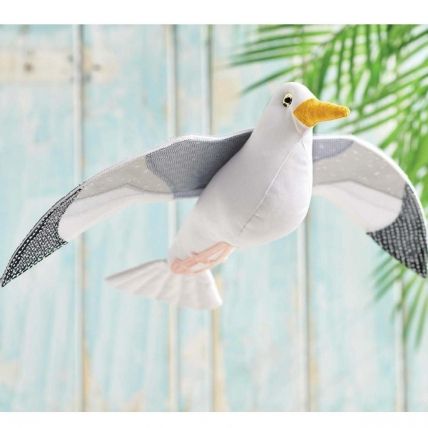
Sidney the Seagull
Animals Decorations
Fly high this summer with Sidney the Seagull Who knew this marine bird could be so adorable? This cheeky fabric seagull…
- Свежие записи
- Балкон в многоквартирном доме: является ли он общедомовым имуществом?
- Штраф за остекление балкона в 2022: что это и как избежать наказания
- Штраф за мусор с балкона: сколько заплатить за выбрасывание окурков
- Оформление балконного окна: выбираем шторы из органзы
- Как выбрать идеальные шторы для маленькой кухни с балконом
- Правообладателям
- Политика конфиденциальности
Мастерица © 2023
Информация, опубликованная на сайте, носит исключительно ознакомительный характер



_428_641_s_c1.jpg)
_428_641_s_c1.jpg)
_428_641_s_c1.jpg)
_107_107_s_c1.jpg)
_107_107_s_c1.jpg)
_107_107_s_c1.jpg)